hey there! i didn’t forget about this little blog of mine, life has continued to be crazy, so i promise, i’m dropping in as much as i can. hopefully, everything will start to slow down and i’ll get to post regularly, like before.
i dropped in to show you the halloween wreath i made last night with the help of some inspiration via pinterest. here is my ‘wreathspiration’:
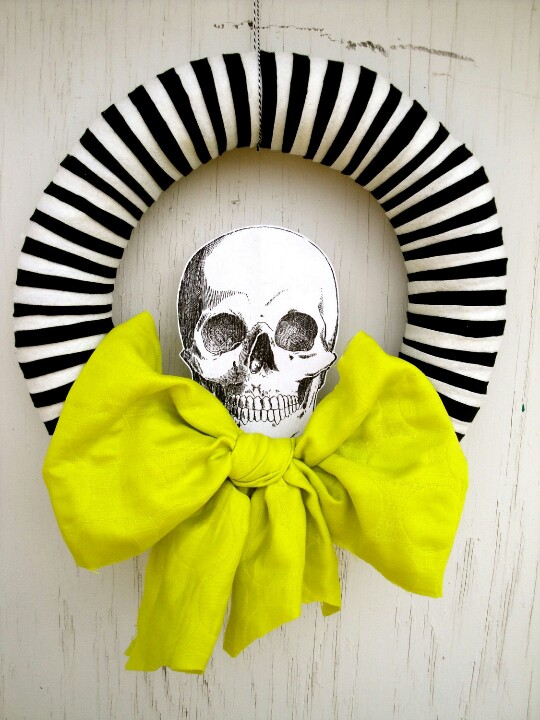 (source)
and here is my version, with step-by-step directions:

first, you’ll need to gather your supplies (shown below). i picked up the skull, originally brown, awhile back when halloween stuff had just started to show up at Jo-Ann’s. to make it silver, i simply sprayed it with some metallic spray paint from Lowe’s that i had laying around the house.
last week i picked up the rest of my supplies, which included: foam wreath (i wanted one with rounded edges, but after searching two stores, i settled for this one). i also picked up two spools of ribbon, one white and one black, to wrap around the wreath. the inspiration looks like it may have been felt (maybe?), but i like the way mine turned out just as well, so whatever you can find will work.
that other spool of ribbon down there is glitter ribbon to make the bow. (note: Barbara is an expert bow maker, so she actually made the bow on the finished product. i have no clue how she does it, but i saw plenty of pre-made bows at Jo-Ann’s for a decent price, which i would have had to snag up if it weren’t for her.)
the only tools i used for this project were scissors and a glue gun.

next, i glued the two ribbons together, overlapping some, so that they would be easier to start wrapping.

then, glue the ribbon onto the wreath and get to wrapping! i would periodically glue the ribbon to the wreath so it wasn’t just ‘sitting’ on top of the foam.
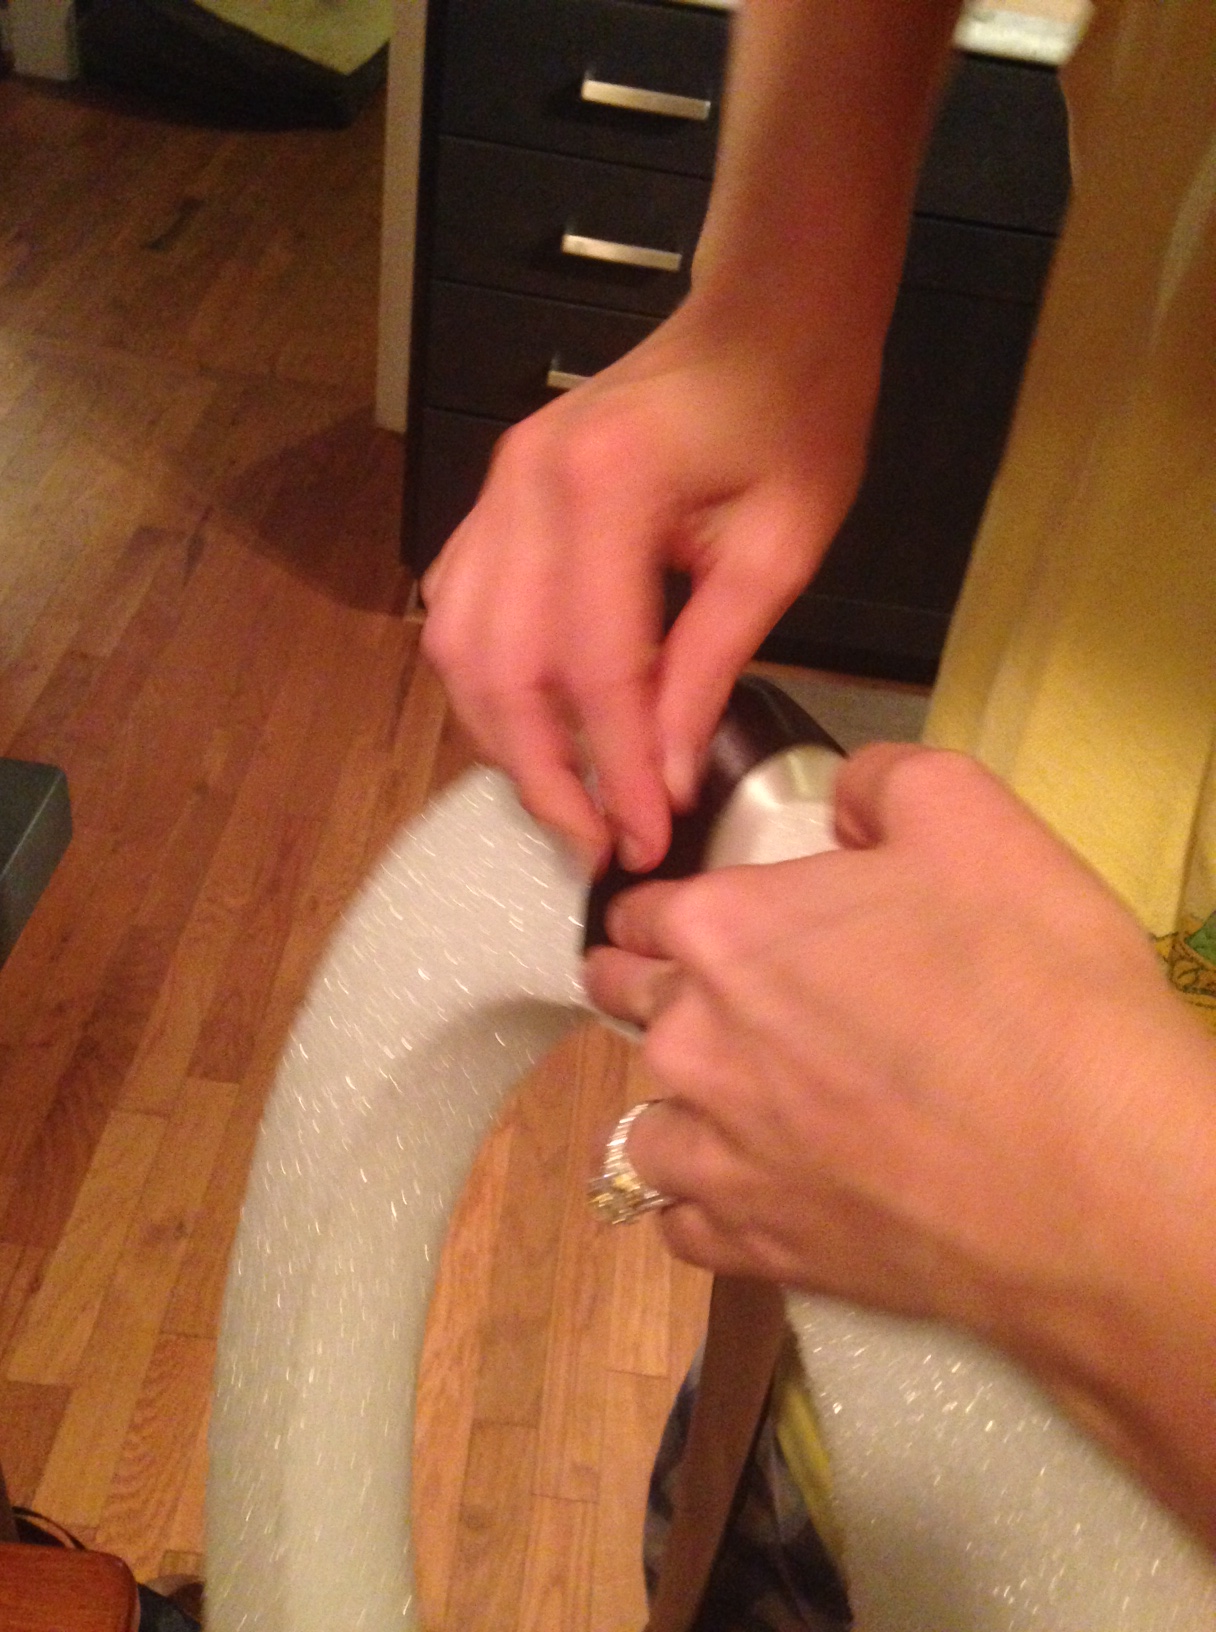
soon, it will start to come together and look like this:

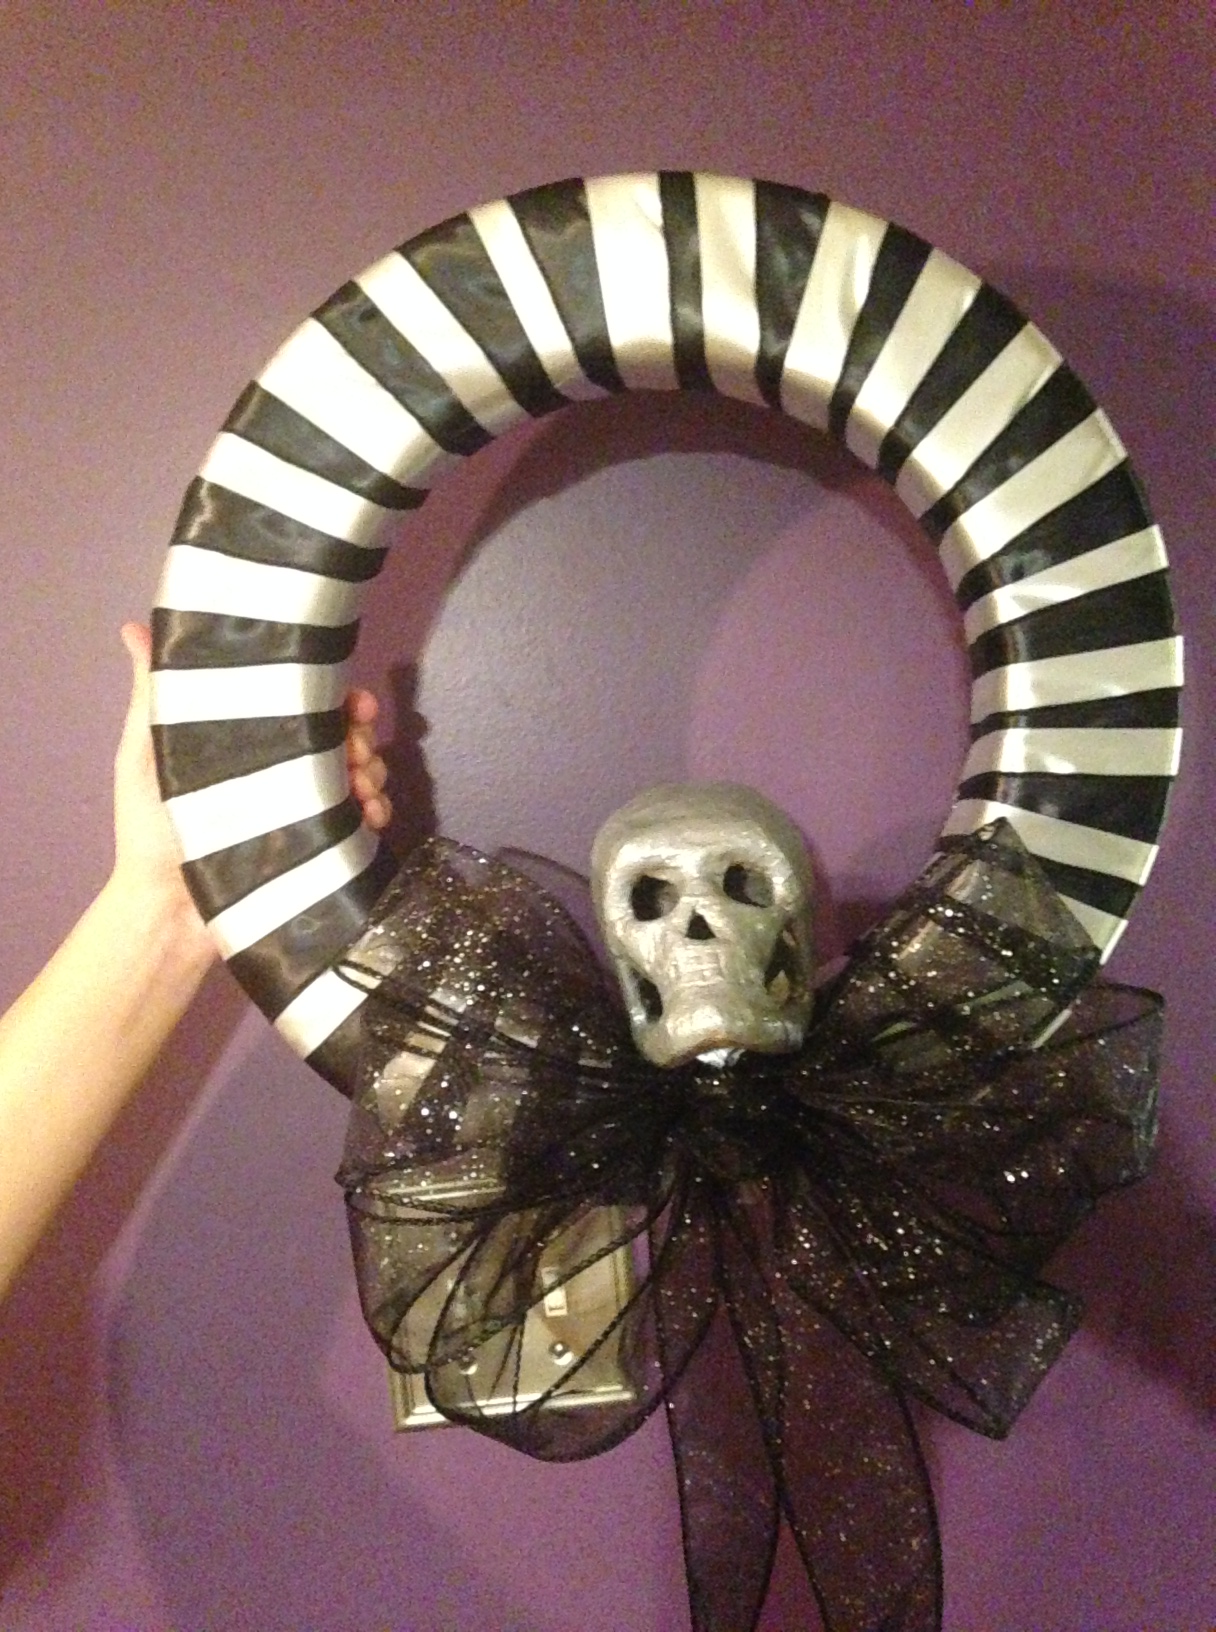
here is what my wreath looked like after the whole thing was wrapped. i ran out of black ribbon on the last wrap, so that’s why there’s more white at the bottom center. i knew i would be covered by the bow and skull, so i wasn’t that worried.

barbara worked her bow-making-magic, or if it were just me, this is where i would tell you i hot glued my store made bow onto the wreath.

finally, i hot glued the skull onto the wreath, making sure that i didn’t set it too far back, so that it would sit flush on the front door. i let it sit to dry overnight and will be hanging it on the door tonight when i get home!
this whole project took about 15 minutes and cost around $20 with some coupons i had. i know all the wreaths i look at cost a lot more, so i would definitely say this is worth the time and effort! it’s not exactly the same as my ‘wreathspiration’ but i love it. feel free to use any colors you want here, purple and orange, orange and black, black and red.. the possibilities are endless!
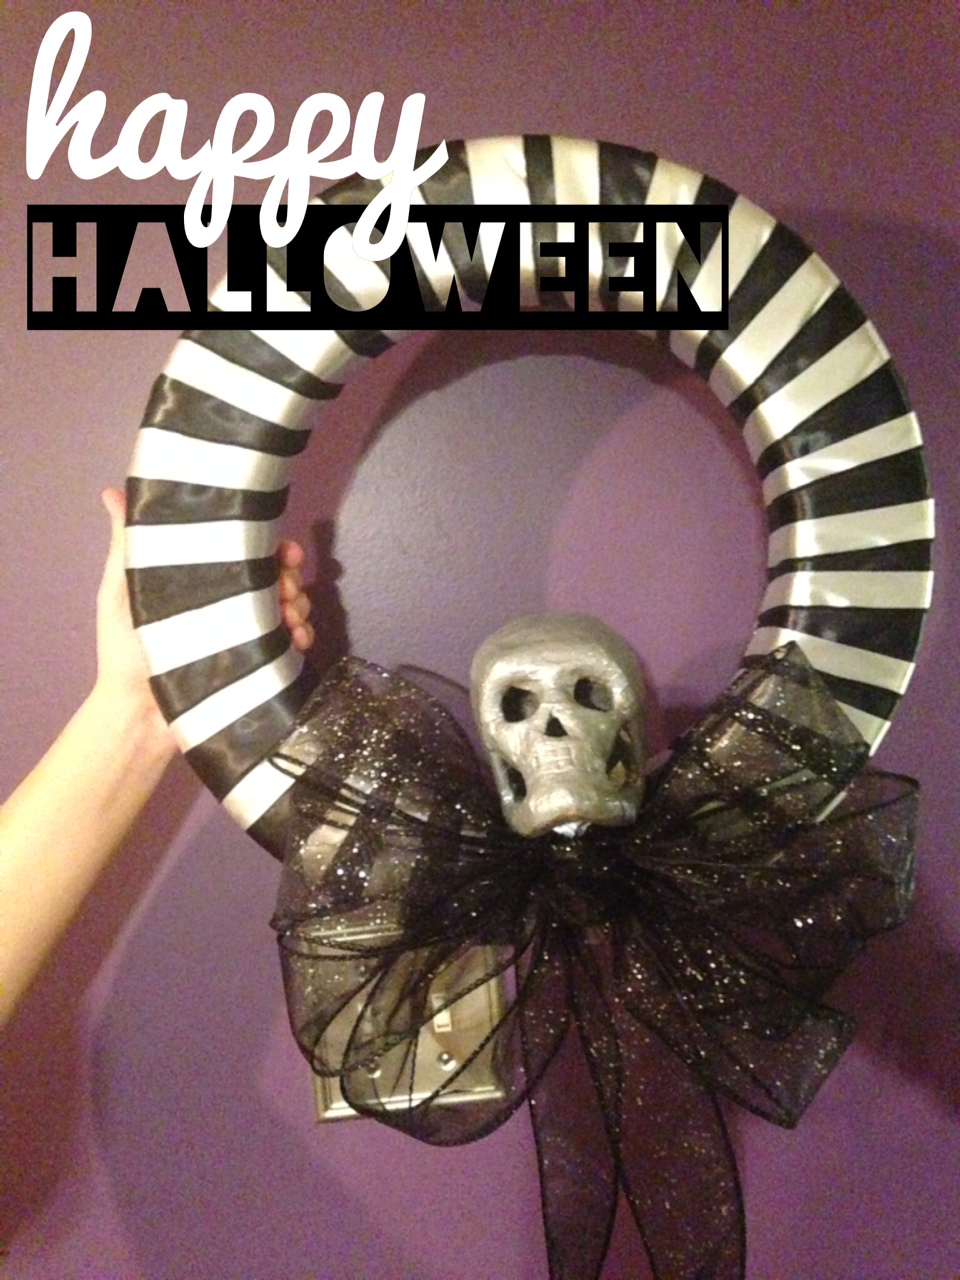 happy halloween!
Q: have you made any crafts for halloween? did you have inspiration or did you just wing it?
