quick & easy guacamole

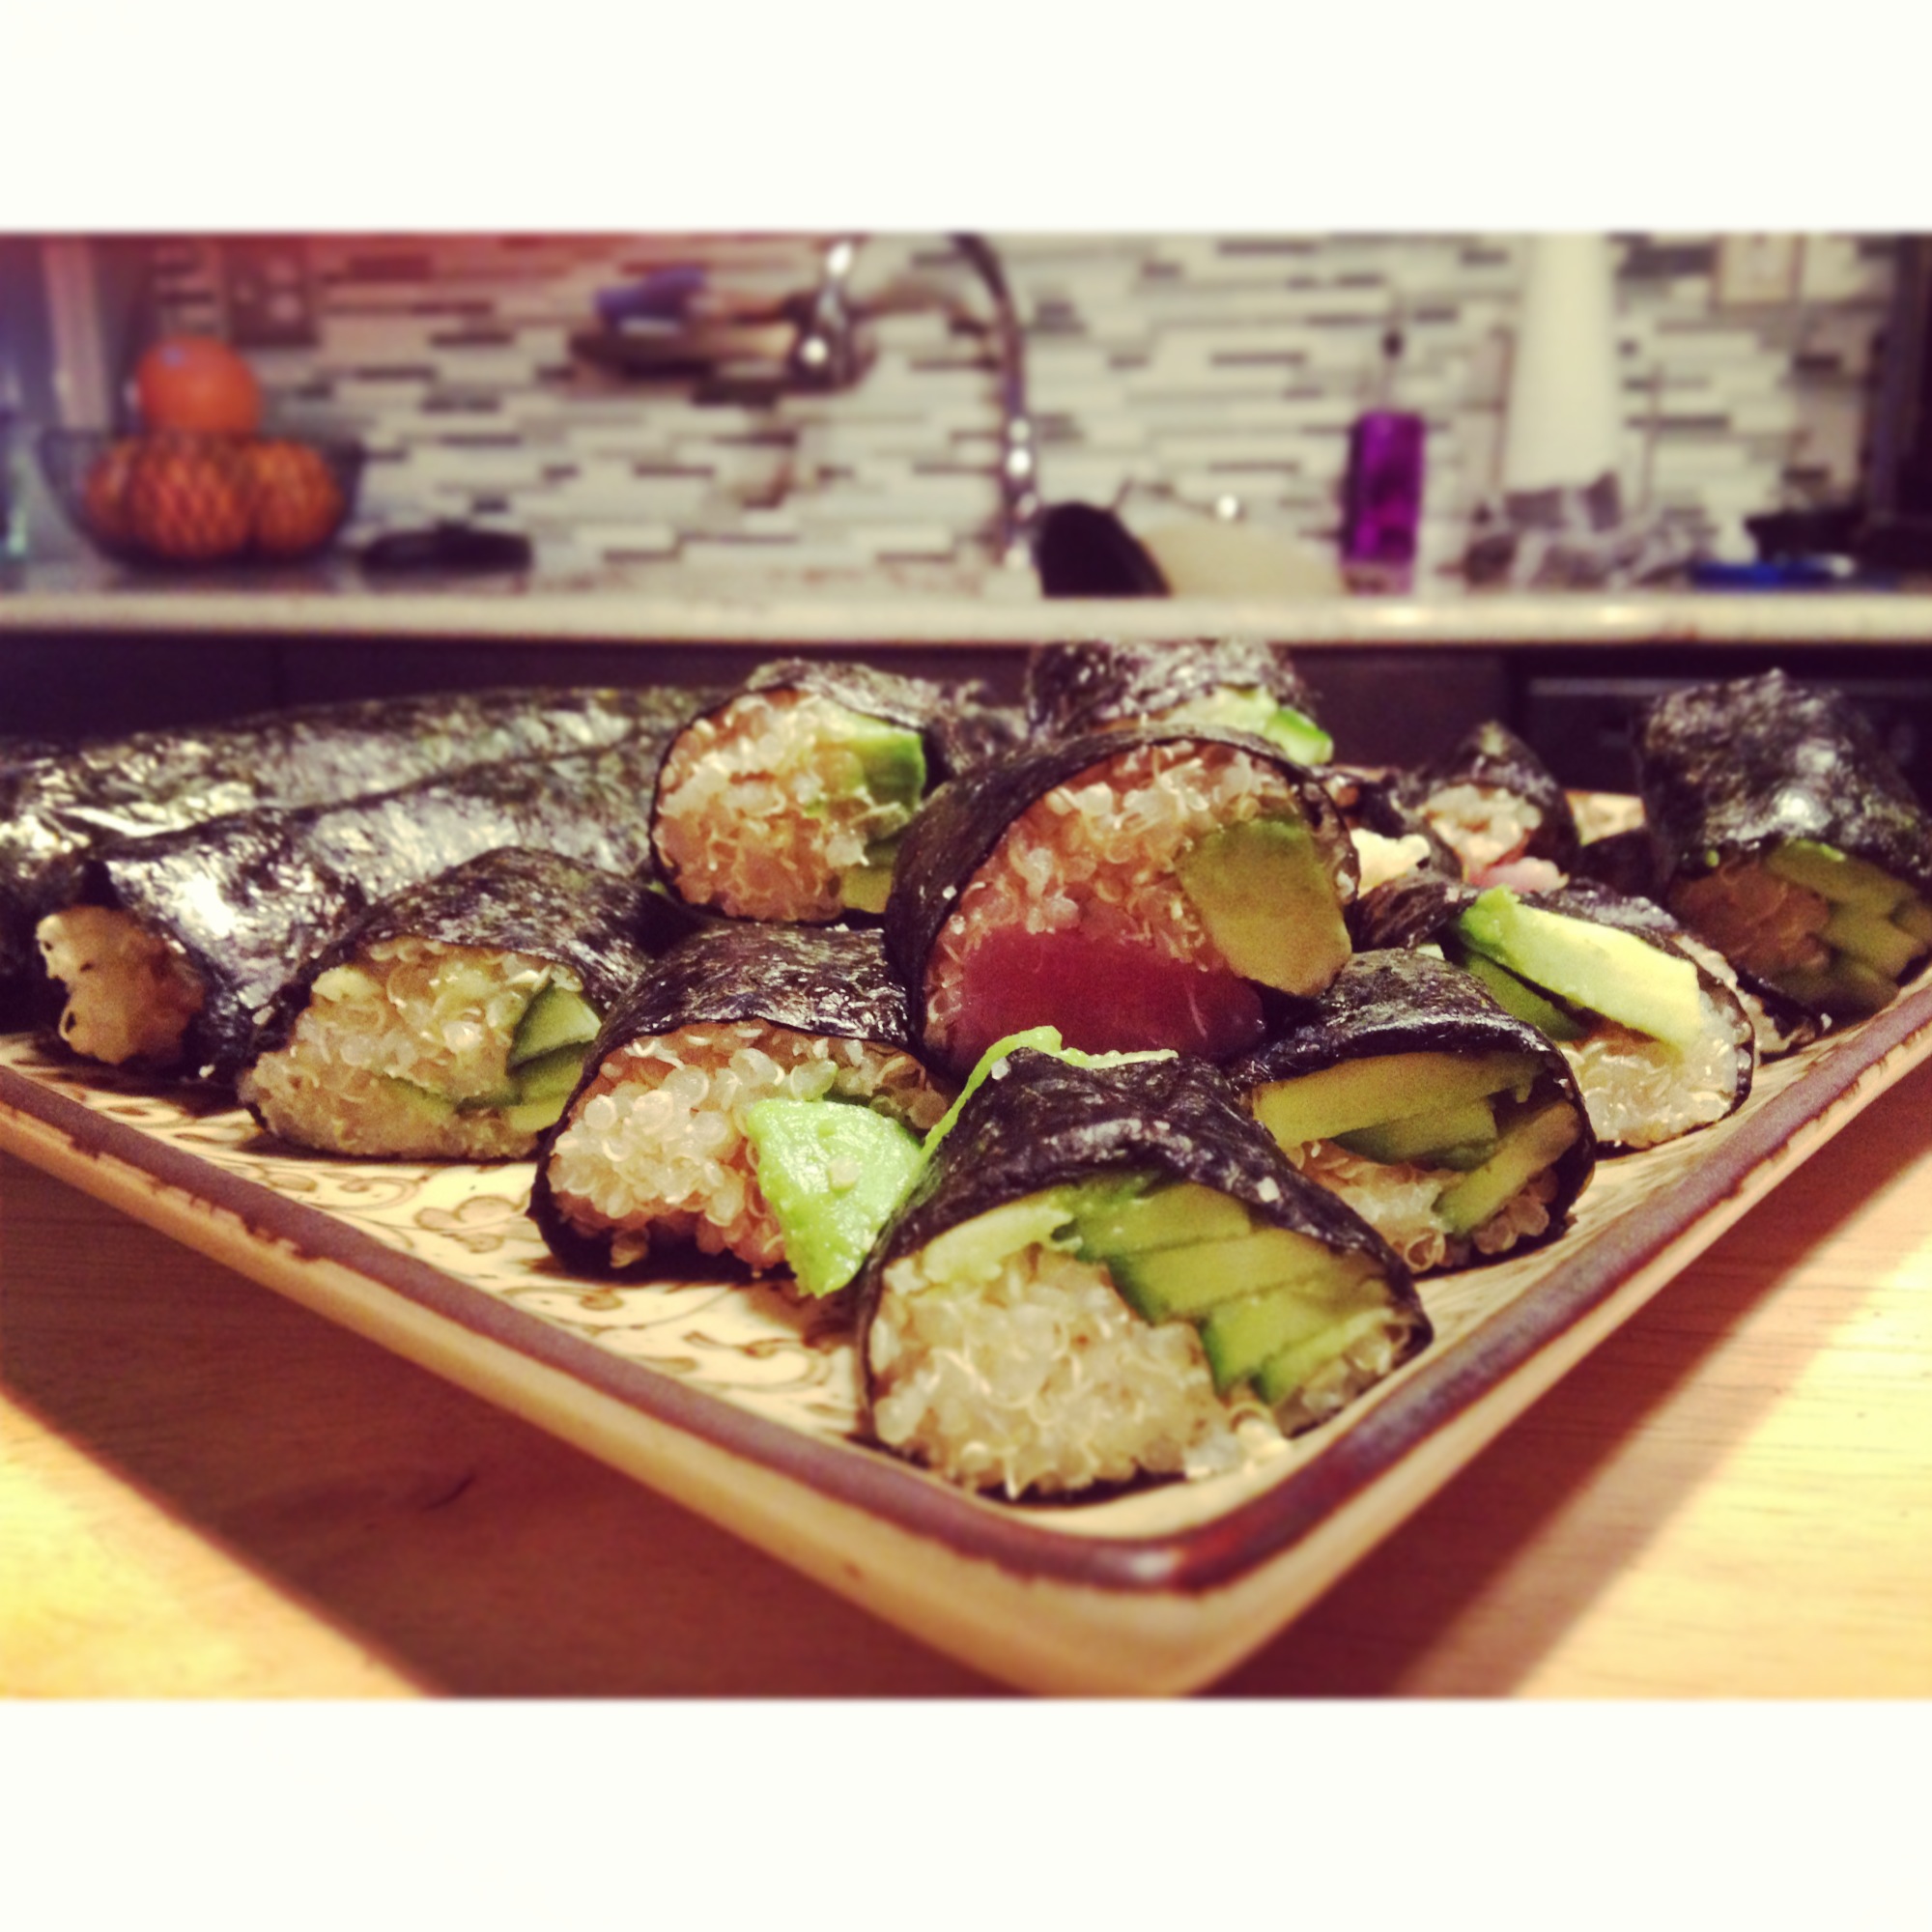
the other day, i was rushing through the grocery store (because it is quite possibly the most hated thing i have to do every week) and passed by the packaged guacamole.  then, i spotted the avocados, ripe and ready to mash, a few feet away and knew exactly what was on the menu for dinner that night: bison nachos with a heaping side of guacamole.

i could probably eat guacamole for every meal if it was acceptable, i love it, but i only love it homemade.  i usually have a mexican-themed dinner once a week, and homemade guacamole always makes an appearance.  this recipe is easy to whip up while your meat is browning!

quick tip: if you find an avocado that seems ripe (deep green color and not too firm)  you can flick off the stem to determine whether it’s good or not.  if you take off that little ‘button’ and it’s brown inside, then your avocado is already past it’s prime and you shouldn’t buy it.  if the color is a yellow/green color, take that baby home with you!  (i learned this tip from a friend awhile back)

guac

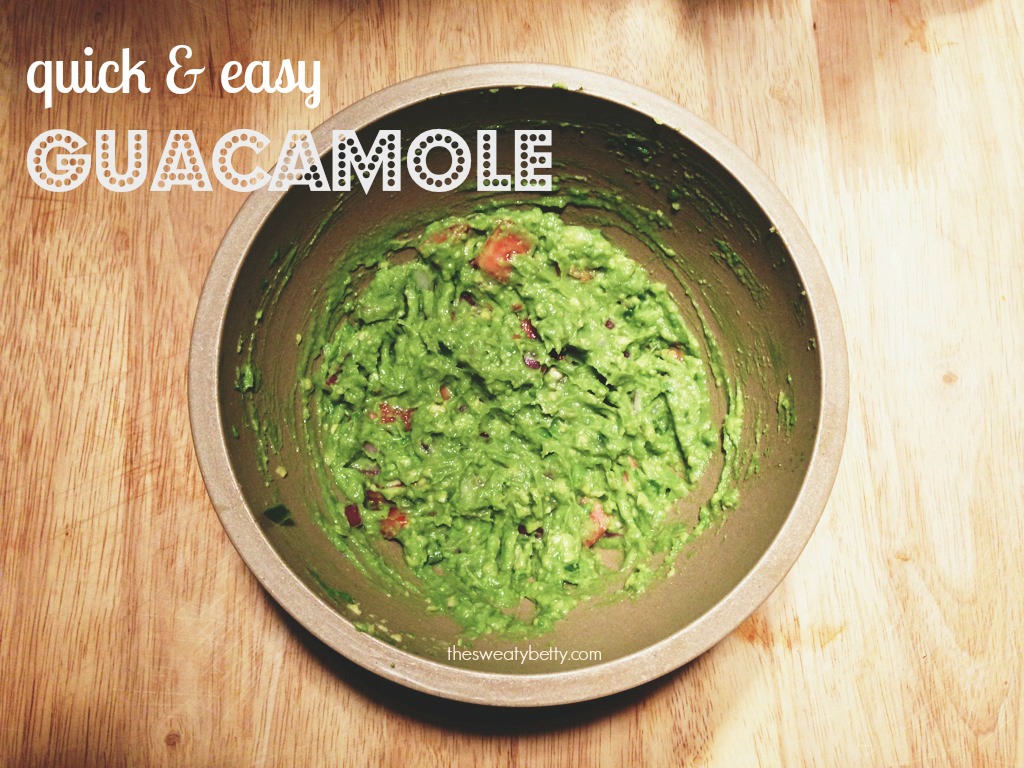
quick and easy guacamole

(serves 4 or 1 if you’re greedy)

ingredients:

  • 1 large avocado
  • 1/4 C red onion, diced
  • 3 cherry tomatoes, diced
  • 1 jalapeno pepper, seeded and diced
  • 1 t garlic (or onion) powder
  • a pinch of sea salt

directions:

  1. cut open avocado, whatever your method may be, and scoop into a small mixing bowl.  mash the avocado with fork (or another masher of choice) until you reach the desired consistency.  (i like my guac more on the smooth side, while other people i know, like to keep it chunky)
  2. once avocado is mashed, place all but tomatoes into the bowl and mix well.  these ingredients are based on preference, so feel free to keep the seeds of your pepper, or add more seasoning, if you’d like.
  3. once everything is well incorporated, fold in tomatoes. ( i keep these last do that don’t get ‘mushy’ during the mixing process)
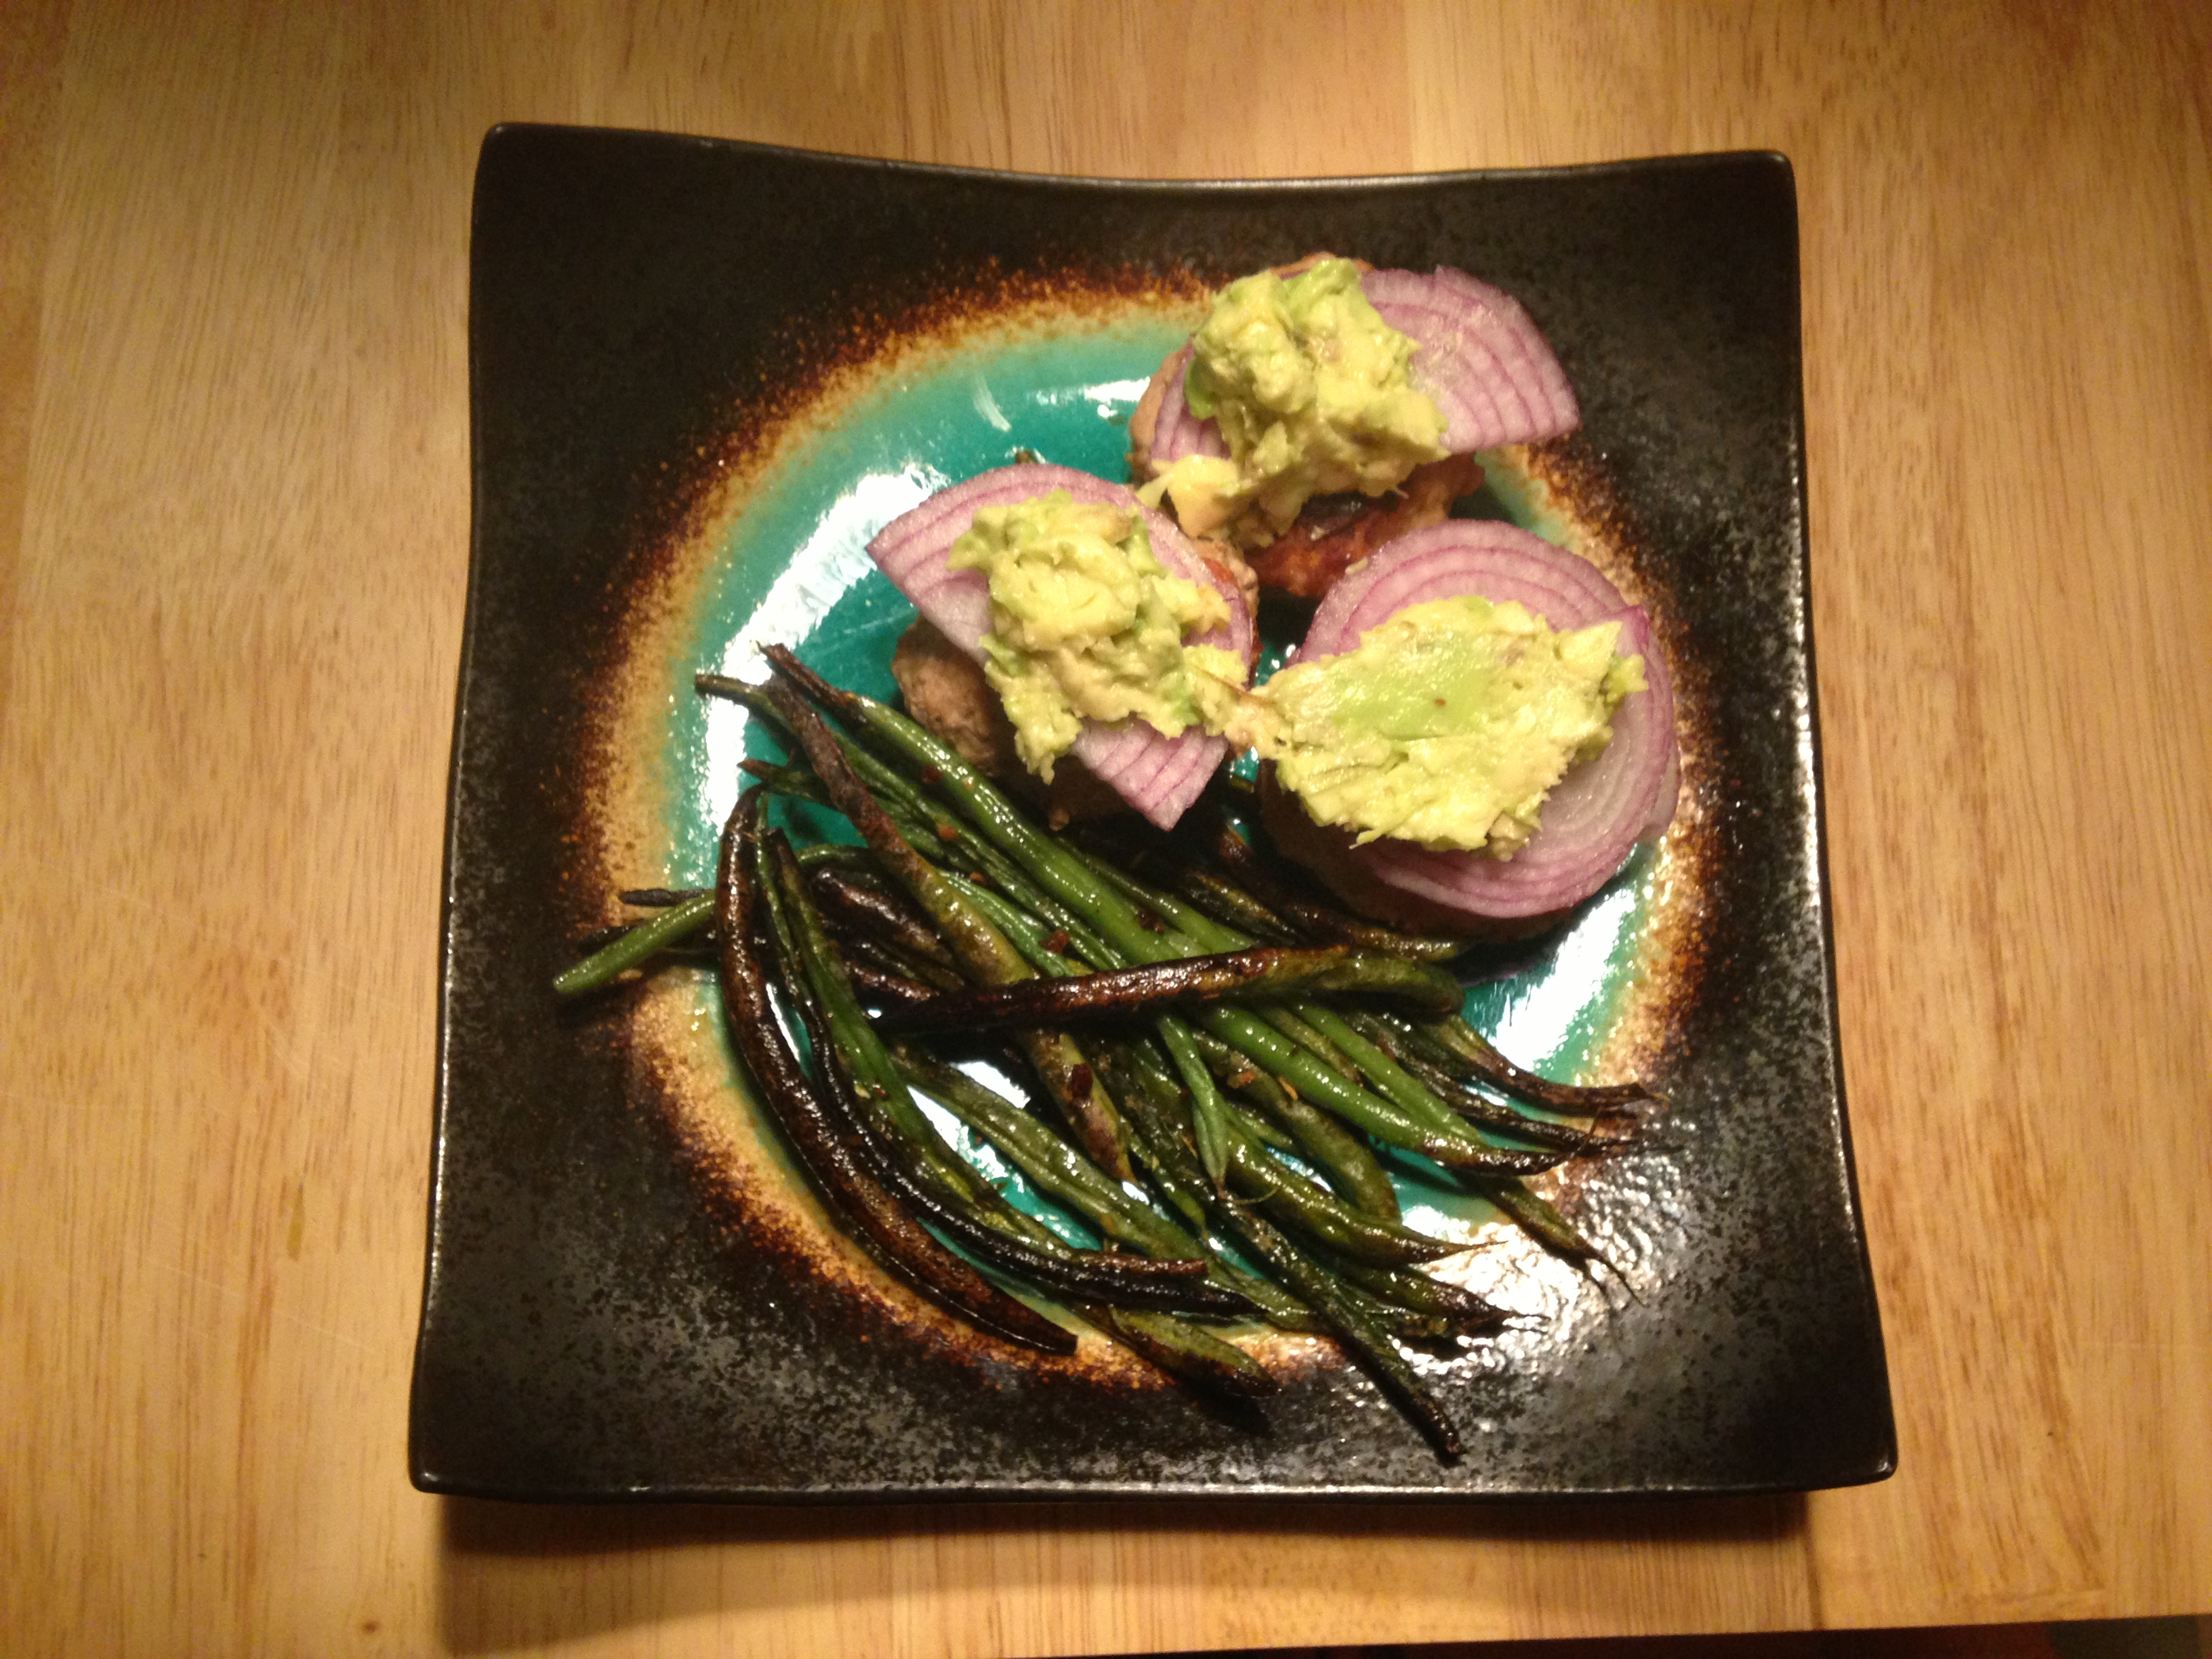
  4. enjoy!  scoop a dollop on your tacos, quesadilla, burger, fish, or chips – whatever you’re feeling that day!

i know its been awhile since i checked in on the weight loss side of this blog; it’s because i’m trying to figure out my body.  i’m not sure if i’m currently fueling my body with enough calories to where it burns fat, instead of stores it.  i have a RMR test scheduled on the 23rd to determine how well my metabolism burns calories and what my macros should be set at, so i’ll be checking in with that next week.

from the website: What is Resting Metabolic Rate (RMR)? Metabolism, quite simply, is the conversion of food to energy. Metabolic rate is a measure of how much food, or fat, is converted to energy in a day.  Resting metabolic rate (RMR) is the measurement of how much food, or energy, is required to maintain basic body functions such as heartbeat, breathing, and maintenance of body heat while you are in a state of rest.  That energy is expressed in calories per day.  So an RMR measurement shows how many calories you burn at rest, doing nothing more than sitting in a chair.

i don’t think that this test is the key to me losing weight, but i do think it will help me understand my body so i can fuel it more efficiently and effectively.  i’m sure i’ve done some damage to my metabolism over the years from various eating habits, some very serious, others were just fad diets, so i’m interested to see how my body has reacted to all of that.

so, like i said, i’ll be checking in with those results after the test to share what i’ve discovered!

happy tuesday everyone!

Q:  do you have any tips or tricks when it comes to picking a certain fruit or veggie to ensure its ripe/fresh?

quinoa tuna & avocado rolls

hey guys! i’m back with another recipe, requested by my basset hound loving, triathlon dominator, friend Sara!

a few days ago, i was thumbing through pinterest, when i spotted this recipe.  i knew as soon as i pinned it, i need to go get supplies to make it, because i wouldn’t be able to stop thinking about it!

i didn’t really take exact measurements (since i wasn’t planning on posting this recipe) but i’ll give you my guestimate.  and if you like a structured recipe, you can find what the original creator used.

sushi

quinoa tuna & avocado rolls

(serves 2) *this is all guessing, i didn’t measure anything!*

ingredients:

  • 4 oz. sushi grade tuna steak
  • 6 pieces of nori paper
  • 1 cup of quinoa (you wont use a whole batch of cooked quinoa)
  • 1 small cucumber
  • 1 small avocado
  • 2 cups of low sodium chicken broth (or water)
  • optional: braggs liquid aminos and wasabi for dipping
  • other add-ins: crabstick, cream cheese, carrots, etc.

directions:

add quinoa to pot and toast over high heat for about 1 minute. add low sodium chicken broth to quinoa and let it come to boil.  once boiling, turn to simmer and cover with lid.  let simmer for 10 minutes. DO NOT open the lid during these 10 minutes.

while quinoa is cooking, prep the rest of the items.  cut up tuna, avocado, and cucumber in thin slices so they can easily be assemble onto the sushi rolls.

once quinoa has cooked for 10 minutes on low heat, remove from hot burner and let sit for 5 more minutes.  DO NOT open the lid yet!!  i believe this is what gave me a stickier quinoa that was very easy to stuff in the rolls.

after the quinoa is done cooking and sitting, prepare nori sheets as noted on package (i had to heat mine over a stove top burner).  add about 2 tablespoons of quinoa to each sheet, then layer toppings of choice;  some i added avocado + cucumber and others tuna + avocado, this part really is your own preference.

once you have all your fillings complete, roll the sheets of nori to wrap everything up.  to seal the rolls, i just run my finger, dipped in water, along both edges of nori and that usually does the trick.  it will also help to place them seam-side-down, so that the heat from the quinoa will also seal them (this is where a bamboo mat would come in handy, but i don’t have one).  once rolled, slice (carefully), and enjoy!

nutritional stats (for 3 rolls – guessing how much quinoa is used): 283 cals, 23 g carbs, 14 g fat, 21 g protein, 175 g sodium

this is only my second time actually making sushi rolls, but it was a lot easier than my first time around, which was in college.  i believe the key to making a good sushi roll is practice.  not everyone can make sushi art like this girl!  the possibilities really are endless when it comes to your add-ins.  i would have loved to make some with crabstick and cream cheese, but because of the 24 day challenge, i tried to stay about from the processed crab and the dairy of the cream cheese!

if you try these out, please let me know what you thought about the process and how you liked them!

bacon turkey sliders & green bean ‘fries’

the main complaint i hear about clean eating is that it’s boring or bland.  here’s the thing: it’s only boring and bland if you make it boring and bland!

i am constantly searching for clean recipes and adapting them to my taste/preference.  one thing I’ve become obsessed with is roasted vegetables.  i’ll roast any vegetable there is, even if i don’t love it, because chances are i’ll like it roasted (broccoli) !  i use the same method for all my vegetables and they usually always turn out amazing.  i like mine on the crispier side, so times may very, but as long as you keep an eye on them, you should be fine.

greenbeanfries

thursday night, i made bacon turkey sliders with green bean ‘fries’ and it was probably the best meal I’ve made this entire challenge (i had two slices of low-sodium, nitrate free bacon, which i added to the sliders, and that was probably the best decisions I’ve ever made).  this meal was packed with flavor and it made enough for two dinners and two lunches for the next day.

greenbeanfries2

bacon turkey sliders with green bean ‘fries’

(serves 4)

ingredients:

  • 20 oz. lean ground turkey (i used 97%)
  • 2 pieces of low sodium, nitrate free bacon
  • ~2 cups of green beans (i usually just go by the handful, i used 4)
  • seasoning of choice (i used tj’s 21 seasoning salute)
  • extra virgin olive oil (or oil of choice) for drizzling
  • toppings of choice (avocado, onion, tomato, cheese. you can even put them on a bun!)

directions:

for green bean fries: preheat oven to 400*. place green beans on a foil lined baking sheet. drizzle with oil of choice.  sprinkle with seasoning. place in oven and bake for 30-45 minutes.  i usually bake mine for a little bit longer (45+) because i like them very crispy!  keep an eye on them around the 30 minute mark to make sure they aren’t overcooked for your taste.  remove from oven when happy with ‘roastedness’. enjoy!

for bacon turkey sliders: preheat oven to 350* degrees. cut up bacon into small bits. add seasoning and bacon to ground turkey and mix. divide turkey into equal portion sliders (i divided it into 4 chunks, then divided those into 3 sliders).  place sliders onto a wire rack** and place wire rack onto baking sheet.  place in oven and bake for ~30 minutes or when internal temperature is 165*. remove from oven when internal temperate is 165*.  top with add-ons of choice. enjoy!

**i placed the sliders on the wire rack so that the sliders wouldn’t sit in the grease from the bacon.  if you don’t care about that, these can go directly onto a baking sheet.  even without all that extra bacon grease, these tasted amazing!

nutritional stats (for 3 sliders and a generous portion of beans): 205 cals, 6 g carbs, 4 g fat, 34 g protein, 144 g sodium

wanna hear my one complaint about the 24 day challenge?  they don’t recommend you eat dairy for the whole 24 days.  if you do, it should be small amounts of plain greek yogurt.  I HAVEN’T HAD CHEESE IN OVER 11 DAYS!  that has to be a record for me. and i miss it. i miss it, terribly.

i’ll be interested to see if dairy bugs my stomach once i try adding it back into my diet.  I’ve never had severe stomach problems, but do deal with some serious heartburn and the occasional bloat here and there.  i can live without yogurt and cows milk. but i miss my cheese.  we’ll see. i’ll keep you updated.

have a great weekend!

Q: what’s your favorite way to prepare vegetables? raw, roasted, boiled, sautéed? roasted. all. the. way.  except carrots and cucumbers.

advocare cleanse recap

sooooo.. the cleanse is officially over! now it’s time for the max phase of the challenge! i can’t tell you enough how excited i am to complete this challenge.  most ‘challenges’ i have tried in the past usually wind up with me getting bored before i actually finish.  that’s what makes this challenge so different.  24 days will pass you by before you even know it!

grab some snacks, this could get long.

so, what’s the cleanse been like? i never really felt like i was actually doing a ‘cleanse’ because i was still eating great food and enjoying normal activities.  the company suggests you cut out processed food, white flour, sugar, high-cal dressings, soda, and alcohol, replacing them with lean proteins, veggies, and complex carbs (beans, oatmeal, quinoa, whole grains). drinking plenty of water (they suggested half your body weight in ounces). and, they also suggest exercising regularly, which i ended up doing 1.5 – 2 hrs of lifting + cardio every morning.  i cut out the cardio after work, because i quickly felt burnt out, and i wanted to complete this challenge strong.

advocare(two 24 day challenge, only one is mine)

here’s a rundown of what my days looked like on average:

day 1-3:

  • 4:14 a.m. – roll out of bed, moaning and groaning
  • 4:30 a.m. – spark + catalyst pre-workout
  • 6:30 a.m. – fiber drink + protein shake post-workout
  • 10:00 a.m. – snack (almonds + hardboiled egg OR rice cake + almond butter)
  • 1:00 p.m. – catalyst
  • 1:30 p.m. – lunch (leftovers from night before, usually chicken/fish + veggies + quinoa/brown rice)
  • ~3:30 p.m. – snack (almonds + hardboiled egg OR rice cake + avocado)
  • 7:00 p.m. – omegaplex + dinner (chicken/fish/bison + veggie and sometimes complex carbs if feeling completely depleted, which only happened one day.)
  • 9:30 p.m. – herbal cleanse caplets + catalyst + protein shake
  • 10:00 p.m. – in bed

day 4-7:

day 8-10:

  • same as day 1-3, except take both probiotic restore and fiber drink, leave out herbal cleanse caplets at night.

it seemed a little intimidating, at first, and i carried my calendar around with what-to-take-and-when, but after the second day, i got the hang of it.  i would double check just to make sure i was taking the right thing in the morning and at night, since those are the only things that change through the cleanse.

i, also, never felt any harsh ‘cleanse’ effects happening during the 10 days either.  yes, it did make me regular, but i never felt like i was running to the bathroom, unless you count the bathroom breaks from drinking so much water.

the ONLY part of the cleanse i didn’t particularly enjoy was the fiber drink. i read plenty of reviews, beforehand, so i knew that it was just something i needed to mix, chug, and get it over with.  it wasn’t the taste that was bad, either.  it had a very gritty thick texture that wasn’t very appealing.  i was happy it wasn’t on days 4 through 7, and i’m very happy it’s over with for good, now. as much as i didn’t enjoy the fiber drink, it wouldn’t be enough to make me not want to try this cleanse again down the road.  advocare actually suggests doing this every 3 months.

so, how did i feel during the cleanse? i felt awesome.  i cannot stress that enough.  i want to be clear that i wasn’t eating terrible before i started this thing.  no, i wasn’t working out, but i kept most of my meals clean, especially during the week.  my downfall was late night ice cream, weekend eating out, and watching my portions.  just because the meal is ‘clean’ doesn’t mean you can have 2 large servings.  i was constantly tired. i felt groggy all the time. even if i wanted to workout, i felt so tired all the time i couldn’t seem to drag myself to the gym.

soooo, how were my results??? YOU GUYS, when i saw the numbers i was SHOCKED!  i know i feel 10x better, but the numbers are making me glow with confidence!  i knew my weight was consistently going down, because of that problem i have (which i’m working on). but, when i took my measurements and started comparing them with 10 days before, I WAS ESTATIC! so, here they are:

weightincheslostTHAT’S TWELVE AND A HALF INCHES, IN TEN DAYS. 

so, am i happy with the results so far?  ummm, do ya think???!?!  i’m really excited to finish this challenge strong.  these results are proof of my hard work and dedication and i can’t wait to see what kind of results i can pull off after 14 more days!!

*i am not an Advocare distributor, but my fiancé is.  all of my opinions on Advocare would be the same regardless of this.*