crab wasabi deviled eggs

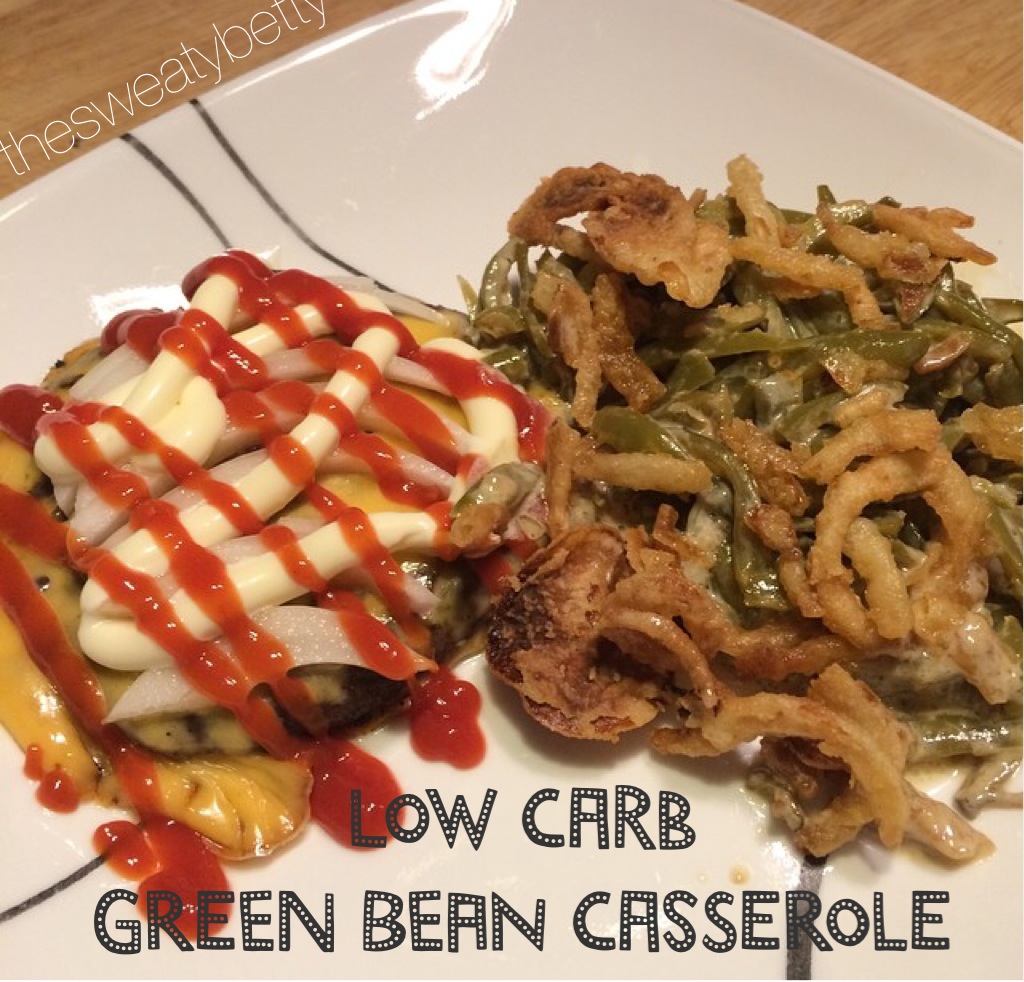
hey guys! i came back, as promised, recipe and all!  so, these eggs are a great variation of your normal deviled eggs.  they’re always a hit at parties and even perfect for snacks at work.  they’re great for a low carb or ketogenic diet, as well, since one egg has less than 1 carb per serving!  so, enough talking, lets get into the details of these easy to make eggs!

eggs title

crab wasabi devlied eggs

serves six

ingredients:

  • 6 eggs
  • 8 oz of lump crab meat
  • 1-3T mayonnaise or mayonnaise substitute
  • 1-5t wasabi paste
  • salt & pepper (to taste)
  • smoked paprika (to garnish)

directions:

  1. boil eggs until hard. (this is the hardest part, in my opinion, only because i’m awful at boiling eggs) i bought this “egg perfect eggtimer” from amazon last week and i have to say, i’m pretty impressed.  i still set my timer on oven, but i’m also able to check the egg timer to make sure the eggs are actually fully cooked. it reacts to heat just as an egg does, so its able to show you when eggs are soft, medium, and hard boiled!  OK, enough about my egg timer, boil your eggs until they are hard.
  2. peel eggs, cut in half, and remove yolks. set aside 2 yolks (i only used two out of the six yolks for this recipe, but you can use as little or as many as you would like)  this recipe is pretty much all “to taste”, i think. i gave the rest of the yolks to the dogs.. they loved it.
  3. set aside boiled egg whites on a plate.
  4. in a bowl, mix together two hard boiled yolks, 8 oz. of crab meat, 1-2T of mayo, a pinch of salt, and 1t of wasabi.  mix together and taste as you go.  this is where you may add more wasabi and salt depending on your taste.  i think altogether, i mixed in about 4-5 teaspoons of paste.  i’m very sensitive to wasabi, although i like a little kick, so again, add more or less depending on your spice tolerance.
  5. once you are done with you mixture and its completely incorporated, spoon into the egg whites that were set aside.  i tried to fill them completely up, but i did have some mixture leftover that wouldn’t fit.
  6. sprinkle some smoked paprika onto the eggs for garnish.
  7. eat and enjoy!

ingredients:
eggs ingredients

egg perfect eggtimer:eggs in pot

awful lighting.. sorry!
egg mixturefinished product: close up eggs

and here are the nutrition facts!  i just plugged all of the ingredients used into myfitnesspal.  the stats fit my low carb lifestyle perfect!   nutrition

let me know if you end up making these!  i always love to hear feedback about recipes!

low carb green bean casserole

hey guys!  just dropping in today with a quick recipe!  this one is one of my favorites and defintely makes an appearance at least once a week!  its also a PERFECT low-carb dish for thanksgiving tomorrow!  i plan to stay low-carb this thanksgiving, sticking with turkey, mashed cauliflower, and this green bean casserole.  i will have to stay away from my favorite: stuffing, but that’s the only food that is hard to resist for me this holiday.

so, this recipe is from my dad.  he doesn’t really have step-by-step recipes, just throws some stuff in a dish or pan and calls it good.  i’m finding out i’m the same way, so if your measurements don’t work out, its because i’m guesstimating here, but if its too soupy, just bake it a little longer (that always works for me 🙂 )


photo99


low carb green bean casserole

ingredients:

  • 2 cans of french cut green beans (can use different style, but these are my favorite)
  • 1 cup of heavy cream or half and half
  • 1 packet of Lipton Onion Soup Mix
  • 2 T butter
  • 1/2-1 cup of French’s Fried Onion Toppers

directions:

  1. pre-heat oven to ~375*.
  2. in a sauce pan, over medium/high heat, melt butter.
  3. once butter starts to melt, add Lipton Onion Soup Mix and whisk until combined with butter.
  4. add in heavy cream and whisk for about 2-3 minutes.  at this point, the mixture should start to become pretty thick, like a gravy.
  5. place green beans in a small casserole dish.
  6. add thickened mixture to green beans and mix well.
  7. bake for about 10-15 mins, or until green beans are heated through and no longer soupy.
  8. remove casserole from oven and top with fried onions, then place back in oven for about 3-5 minutes, or just long enough for them to get crispy.
  9. remove and enjoy!


hope you all like this recipe!  its a perfect addition to your thanksgiving dinner menu!  if you make it, let me know how you like it and tag me in your pictures on instagram!  i love seeing people make my dishes!


xoxo


easy mashed cauliflower recipe

hey guys!  hope everything is going well! i wanted to pop in today with a quick recipe since, when i post pictures of my food, especially my mashed cauliflower, on my IG page (thesweatybetty) i get tons of questions of how i make it and what i top it with.

i may start doing this more often, since i can answer a lot of questions all at once, and its easier than being confined to an iphone screen!  so!  if you have any other recipes you would like me to share, let me know, and i’d be more than happy share!

mashed cauli23

ingredients:

  • 1 head of cauliflower
  • milk of choice (almond/skim/heavy cream)
  • laughing cow cheese OR butter OR both! (optional)
  • toppings of choice (more butter, blue cheese, cheddar cheese, bacon bits..)
  • salt & pepper to taste

directions:

  1. steam the whole head of cauliflower however you choose to steam it.  i have a pampered chef microwave steamer that works great for this purpose.
  2. while cauliflower is steaming, get out your blender, i use my vitamix, and add 2-3T of your milk and 1-2T of butter OR 1-2 wedges of laughing cow.  (i never add the same amount of anything, and i actually never measure my milk, i just know that a little goes a long way, since cauliflower has so much moisture)
  3. when cauliflower is done steaming and fork tender, add to the blender and blend away!  this is where i’ve realized a little liquid goes a long way.  many times, i’ve ended up with cauliflower soup, because i added too much liquid.  i recommend starting with a little bit, and working your way up, versus too much in the beginning!
  4. keep blending until desired consistency.  (i blended longer than i thought i should have a few times back, and ended up with the creamy, velvety cauliflower puree i cannot get enough of!)

the length of my blending depends, somewhat, on what i’m making with my cauliflower.  if i’m making my imitation ‘shrimp & grits’ i leave it a little less blended with less or no liquid, for a texture that closely resembles grits.  when i make it as a side to lamb chops (pictured below) or steak, i blend a little longer for a creamy texture that closely resembles creamy/mashed potatoes.

mashed cauli

the toppings are also endless!  i LOVE mine with blue cheese, or maybe i just love blue cheese? who cares. i love them with blue cheese.  you could also sprinkle some cheddar cheese if you’re not a blue cheese fan.  you could add a little extra butter if you want to.  bacon goes well with just about anything, so why not add it to this mash?  or add butter, sour cream, cheese, AND bacon for a load mashed potato which has a little less guilt, since you’re not eating the potatoes, or if you are following a ketogenic diet like me!

my main suggestion is to just play with it!  like i’ve said, i played with my measurements until i found a mixture that i loved.  it took quit a few cauliflower soups before i found out the ratios that i liked. start out less (milk/butter) and add more if you think it needs it, if it still seams chunky and dry, add a little more at a time, and blend longer than you think it needs!

if you have any of questions, let me know!  hopefully this helps some people!

quick & easy guacamole

the other day, i was rushing through the grocery store (because it is quite possibly the most hated thing i have to do every week) and passed by the packaged guacamole.  then, i spotted the avocados, ripe and ready to mash, a few feet away and knew exactly what was on the menu for dinner that night: bison nachos with a heaping side of guacamole.

i could probably eat guacamole for every meal if it was acceptable, i love it, but i only love it homemade.  i usually have a mexican-themed dinner once a week, and homemade guacamole always makes an appearance.  this recipe is easy to whip up while your meat is browning!

quick tip: if you find an avocado that seems ripe (deep green color and not too firm)  you can flick off the stem to determine whether it’s good or not.  if you take off that little ‘button’ and it’s brown inside, then your avocado is already past it’s prime and you shouldn’t buy it.  if the color is a yellow/green color, take that baby home with you!  (i learned this tip from a friend awhile back)

guac

quick and easy guacamole

(serves 4 or 1 if you’re greedy)

ingredients:

  • 1 large avocado
  • 1/4 C red onion, diced
  • 3 cherry tomatoes, diced
  • 1 jalapeno pepper, seeded and diced
  • 1 t garlic (or onion) powder
  • a pinch of sea salt

directions:

  1. cut open avocado, whatever your method may be, and scoop into a small mixing bowl.  mash the avocado with fork (or another masher of choice) until you reach the desired consistency.  (i like my guac more on the smooth side, while other people i know, like to keep it chunky)
  2. once avocado is mashed, place all but tomatoes into the bowl and mix well.  these ingredients are based on preference, so feel free to keep the seeds of your pepper, or add more seasoning, if you’d like.
  3. once everything is well incorporated, fold in tomatoes. ( i keep these last do that don’t get ‘mushy’ during the mixing process)
  4. enjoy!  scoop a dollop on your tacos, quesadilla, burger, fish, or chips – whatever you’re feeling that day!

i know its been awhile since i checked in on the weight loss side of this blog; it’s because i’m trying to figure out my body.  i’m not sure if i’m currently fueling my body with enough calories to where it burns fat, instead of stores it.  i have a RMR test scheduled on the 23rd to determine how well my metabolism burns calories and what my macros should be set at, so i’ll be checking in with that next week.

from the website: What is Resting Metabolic Rate (RMR)? Metabolism, quite simply, is the conversion of food to energy. Metabolic rate is a measure of how much food, or fat, is converted to energy in a day.  Resting metabolic rate (RMR) is the measurement of how much food, or energy, is required to maintain basic body functions such as heartbeat, breathing, and maintenance of body heat while you are in a state of rest.  That energy is expressed in calories per day.  So an RMR measurement shows how many calories you burn at rest, doing nothing more than sitting in a chair.

i don’t think that this test is the key to me losing weight, but i do think it will help me understand my body so i can fuel it more efficiently and effectively.  i’m sure i’ve done some damage to my metabolism over the years from various eating habits, some very serious, others were just fad diets, so i’m interested to see how my body has reacted to all of that.

so, like i said, i’ll be checking in with those results after the test to share what i’ve discovered!

happy tuesday everyone!

Q:  do you have any tips or tricks when it comes to picking a certain fruit or veggie to ensure its ripe/fresh?

quinoa tuna & avocado rolls

hey guys! i’m back with another recipe, requested by my basset hound loving, triathlon dominator, friend Sara!

a few days ago, i was thumbing through pinterest, when i spotted this recipe.  i knew as soon as i pinned it, i need to go get supplies to make it, because i wouldn’t be able to stop thinking about it!

i didn’t really take exact measurements (since i wasn’t planning on posting this recipe) but i’ll give you my guestimate.  and if you like a structured recipe, you can find what the original creator used.

sushi

quinoa tuna & avocado rolls

(serves 2) *this is all guessing, i didn’t measure anything!*

ingredients:

  • 4 oz. sushi grade tuna steak
  • 6 pieces of nori paper
  • 1 cup of quinoa (you wont use a whole batch of cooked quinoa)
  • 1 small cucumber
  • 1 small avocado
  • 2 cups of low sodium chicken broth (or water)
  • optional: braggs liquid aminos and wasabi for dipping
  • other add-ins: crabstick, cream cheese, carrots, etc.

directions:

add quinoa to pot and toast over high heat for about 1 minute. add low sodium chicken broth to quinoa and let it come to boil.  once boiling, turn to simmer and cover with lid.  let simmer for 10 minutes. DO NOT open the lid during these 10 minutes.

while quinoa is cooking, prep the rest of the items.  cut up tuna, avocado, and cucumber in thin slices so they can easily be assemble onto the sushi rolls.

once quinoa has cooked for 10 minutes on low heat, remove from hot burner and let sit for 5 more minutes.  DO NOT open the lid yet!!  i believe this is what gave me a stickier quinoa that was very easy to stuff in the rolls.

after the quinoa is done cooking and sitting, prepare nori sheets as noted on package (i had to heat mine over a stove top burner).  add about 2 tablespoons of quinoa to each sheet, then layer toppings of choice;  some i added avocado + cucumber and others tuna + avocado, this part really is your own preference.

once you have all your fillings complete, roll the sheets of nori to wrap everything up.  to seal the rolls, i just run my finger, dipped in water, along both edges of nori and that usually does the trick.  it will also help to place them seam-side-down, so that the heat from the quinoa will also seal them (this is where a bamboo mat would come in handy, but i don’t have one).  once rolled, slice (carefully), and enjoy!

nutritional stats (for 3 rolls – guessing how much quinoa is used): 283 cals, 23 g carbs, 14 g fat, 21 g protein, 175 g sodium

this is only my second time actually making sushi rolls, but it was a lot easier than my first time around, which was in college.  i believe the key to making a good sushi roll is practice.  not everyone can make sushi art like this girl!  the possibilities really are endless when it comes to your add-ins.  i would have loved to make some with crabstick and cream cheese, but because of the 24 day challenge, i tried to stay about from the processed crab and the dairy of the cream cheese!

if you try these out, please let me know what you thought about the process and how you liked them!

bacon turkey sliders & green bean ‘fries’

the main complaint i hear about clean eating is that it’s boring or bland.  here’s the thing: it’s only boring and bland if you make it boring and bland!

i am constantly searching for clean recipes and adapting them to my taste/preference.  one thing I’ve become obsessed with is roasted vegetables.  i’ll roast any vegetable there is, even if i don’t love it, because chances are i’ll like it roasted (broccoli) !  i use the same method for all my vegetables and they usually always turn out amazing.  i like mine on the crispier side, so times may very, but as long as you keep an eye on them, you should be fine.

greenbeanfries

thursday night, i made bacon turkey sliders with green bean ‘fries’ and it was probably the best meal I’ve made this entire challenge (i had two slices of low-sodium, nitrate free bacon, which i added to the sliders, and that was probably the best decisions I’ve ever made).  this meal was packed with flavor and it made enough for two dinners and two lunches for the next day.

greenbeanfries2

bacon turkey sliders with green bean ‘fries’

(serves 4)

ingredients:

  • 20 oz. lean ground turkey (i used 97%)
  • 2 pieces of low sodium, nitrate free bacon
  • ~2 cups of green beans (i usually just go by the handful, i used 4)
  • seasoning of choice (i used tj’s 21 seasoning salute)
  • extra virgin olive oil (or oil of choice) for drizzling
  • toppings of choice (avocado, onion, tomato, cheese. you can even put them on a bun!)

directions:

for green bean fries: preheat oven to 400*. place green beans on a foil lined baking sheet. drizzle with oil of choice.  sprinkle with seasoning. place in oven and bake for 30-45 minutes.  i usually bake mine for a little bit longer (45+) because i like them very crispy!  keep an eye on them around the 30 minute mark to make sure they aren’t overcooked for your taste.  remove from oven when happy with ‘roastedness’. enjoy!

for bacon turkey sliders: preheat oven to 350* degrees. cut up bacon into small bits. add seasoning and bacon to ground turkey and mix. divide turkey into equal portion sliders (i divided it into 4 chunks, then divided those into 3 sliders).  place sliders onto a wire rack** and place wire rack onto baking sheet.  place in oven and bake for ~30 minutes or when internal temperature is 165*. remove from oven when internal temperate is 165*.  top with add-ons of choice. enjoy!

**i placed the sliders on the wire rack so that the sliders wouldn’t sit in the grease from the bacon.  if you don’t care about that, these can go directly onto a baking sheet.  even without all that extra bacon grease, these tasted amazing!

nutritional stats (for 3 sliders and a generous portion of beans): 205 cals, 6 g carbs, 4 g fat, 34 g protein, 144 g sodium

wanna hear my one complaint about the 24 day challenge?  they don’t recommend you eat dairy for the whole 24 days.  if you do, it should be small amounts of plain greek yogurt.  I HAVEN’T HAD CHEESE IN OVER 11 DAYS!  that has to be a record for me. and i miss it. i miss it, terribly.

i’ll be interested to see if dairy bugs my stomach once i try adding it back into my diet.  I’ve never had severe stomach problems, but do deal with some serious heartburn and the occasional bloat here and there.  i can live without yogurt and cows milk. but i miss my cheese.  we’ll see. i’ll keep you updated.

have a great weekend!

Q: what’s your favorite way to prepare vegetables? raw, roasted, boiled, sautéed? roasted. all. the. way.  except carrots and cucumbers.